Installing an auto pool cover can be a great addition to your swimming pool. Not only does it provide added safety and security, but it also helps to keep your pool clean and reduces maintenance. In this step-by-step guide, we will walk you through the process of installing an auto pool cover, from start to finish.
Step 1: Measure your Pool
The first step in installing an auto pool cover is to measure your pool. You will need to know the exact dimensions of your pool in order to purchase the correct size cover.
Step 2: Choose the Right Cover
Once you have the measurements of your pool, it's time to choose the right cover. There are several types of auto pool covers available, including manual and automatic options.
Step 3: Prepare the Pool
Before installing the auto pool cover, you will need to prepare your pool. Start by cleaning the pool thoroughly to remove any debris or dirt. This will help to prevent the cover from getting damaged and ensure a clean swimming environment.
Step 4: Install the Cover Housing
The next step is to install the cover housing. The cover housing is the mechanism that houses the cover and allows it to open and close. It is typically installed at one end of the pool, either above or below ground.
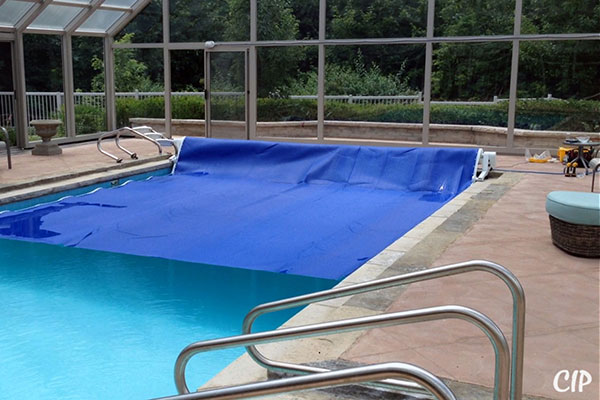
Step 5: Install the Cover and Reel System
Once the cover housing is in place, it's time to install the cover and reel system. The cover is typically made of a durable material such as vinyl or mesh, and is attached to a reel system that allows it to be rolled up and down.
Conclusion
Installing an auto pool cover can provide numerous benefits, from added safety and security to reduced maintenance and a cleaner pool. By following this step-by-step guide, you can ensure a successful installation and enjoy the many advantages of an auto pool cover.